Hey girls,
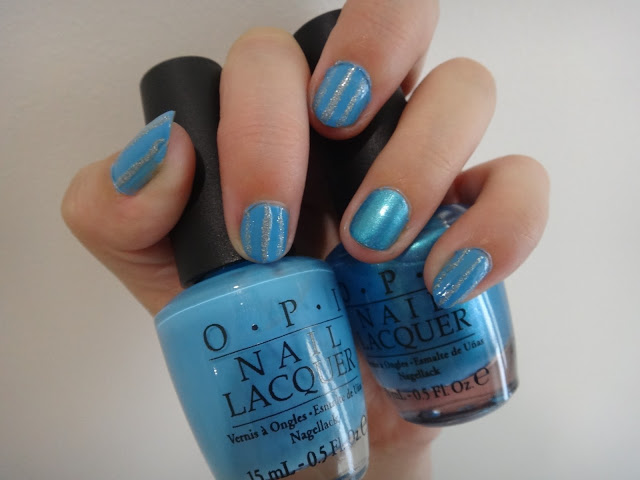
I thought I would share with you how I painted my nails today by talking you through it step by step in case you wanted to recreate the look. I used some really gorgeous blues and a beautiful silver. Overall, I love the way they turned out and kind of remind me of Christmas for some reason!
Step #1: Prepare your nails. Buff, shape and shine however you like to. Paint on your favourite base coat, nail hardener or whatever you like to put on your nails before you put polish on. This step is completely up to your personal preference.Step #2: Apply two coats of a dark blue on your ring finger. Apply two coats of a light blue onto every other nail. This is following a trend which was really relevant in 2010 and has been less popular since but nevertheless I love.
The two blues I used were No Room for the Blues and Teal The Cows Come Home by OPI.
Step #3: Use a toothpick, nail brush or artline pen to draw three thin silver lines on every nail other than your ring finger. I used Chanel 529 Graphite from the 2011 Fall collection because I am obsessed with this colour but it's Spring in Australia so too dark to wear all over the nails but I am glad I somehow incorporated this colour into my nail look.Finish off with a top coat and your done! I hope you girls like these quick nail tutorials, next time I will try and get some pictures of myself doing it step by step but I wasn't sure how it was going to turn out and if I was even going to blog about it.


Tidak ada komentar:
Posting Komentar